
2.4K
This is a simple example which shows how to connect an LDR to a Chipkit UNO. In this example we are using Mpide and will be outputting the results via the serial monitor window
A photoresistor or light-dependent resistor (LDR) or photocell is a light-controlled variable resistor. The resistance of a photoresistor decreases with increasing incident light intensity; in other words, it exhibits photoconductivity.
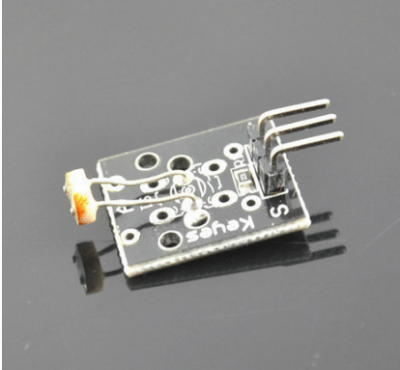
I used a module like the following
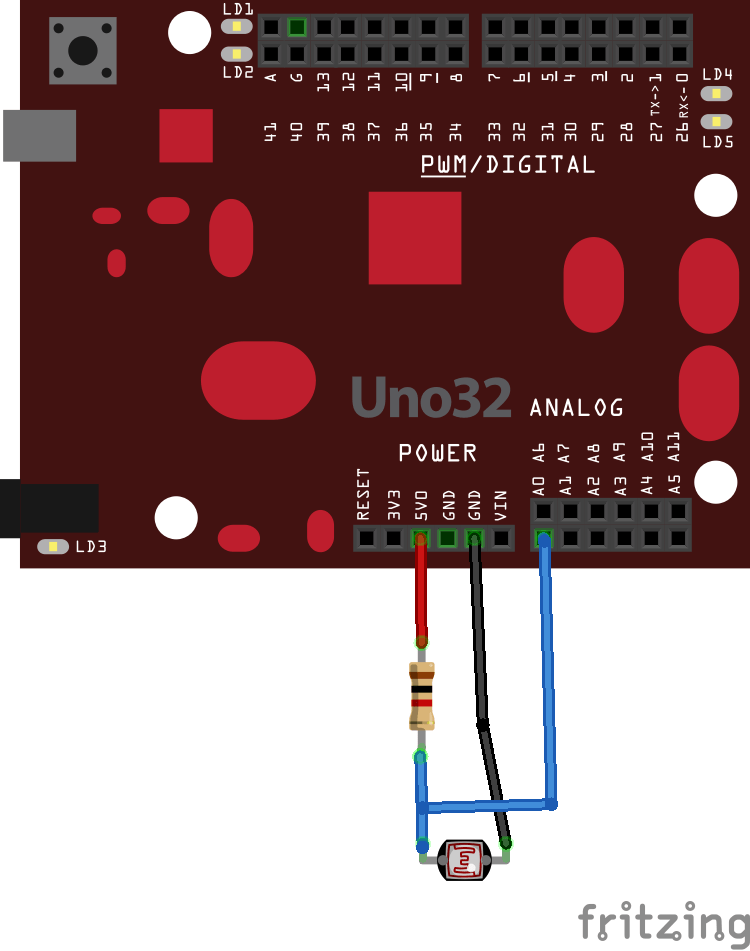
Schematic and Layout

Code
[codesyntax lang=”cpp”]
int sensorPin = A0; // select the input pin for the ldr
int sensorValue = 0; // variable to store the value coming from the sensor

void setup()
{
  Serial.begin(9600);
}

void loop()
{
  sensorValue = analogRead(sensorPin);
  delay(500);
  Serial.println(sensorValue, DEC);
}
[/codesyntax]
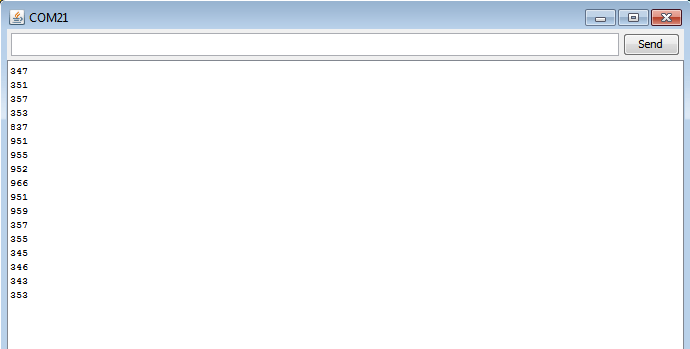
Result
Open the serial monitor window and you should see something like the following depending on the amount of light that is present
chipkit and ldr output
