
The LSM303 3D Accelerometers/Magnetometer Models are a system-in-package featuring a 3D digital linear acceleration sensor and a 3D digital magnetic sensor. These best-in-class eCompass devices enable superior PDR or unique use cases in emerging applications, including drones and personal navigation systems.
All full-scales available are fully selectable by the user. The device includes an I2C serial bus interface that supports standard and fast mode 100kHz and 400kHz.
Features
|
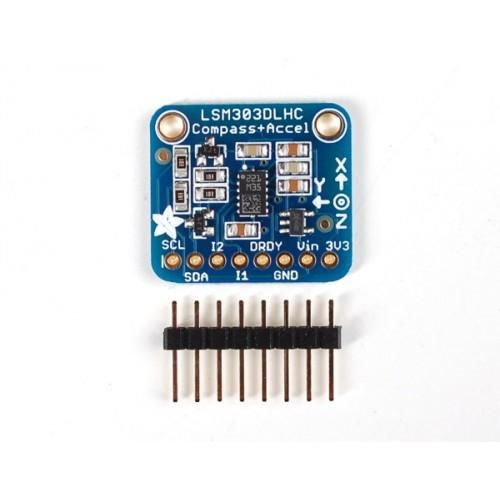
Here is a picture of the module I bought
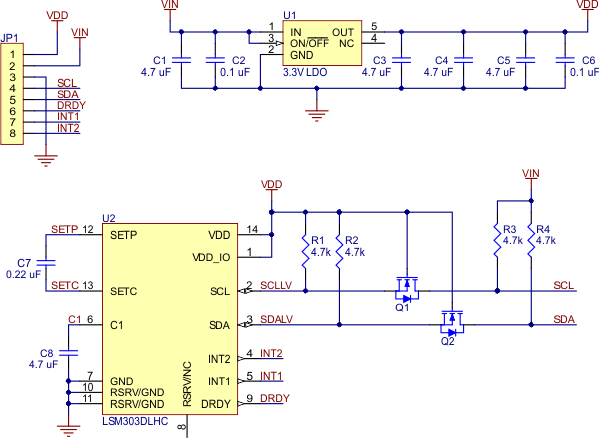
This is a schematic of a typical module such as the one above
Now lets look at a layout showing how to connect the module to our Arduino
Schematic and layout
Quite a straightforward connection being an I2C device
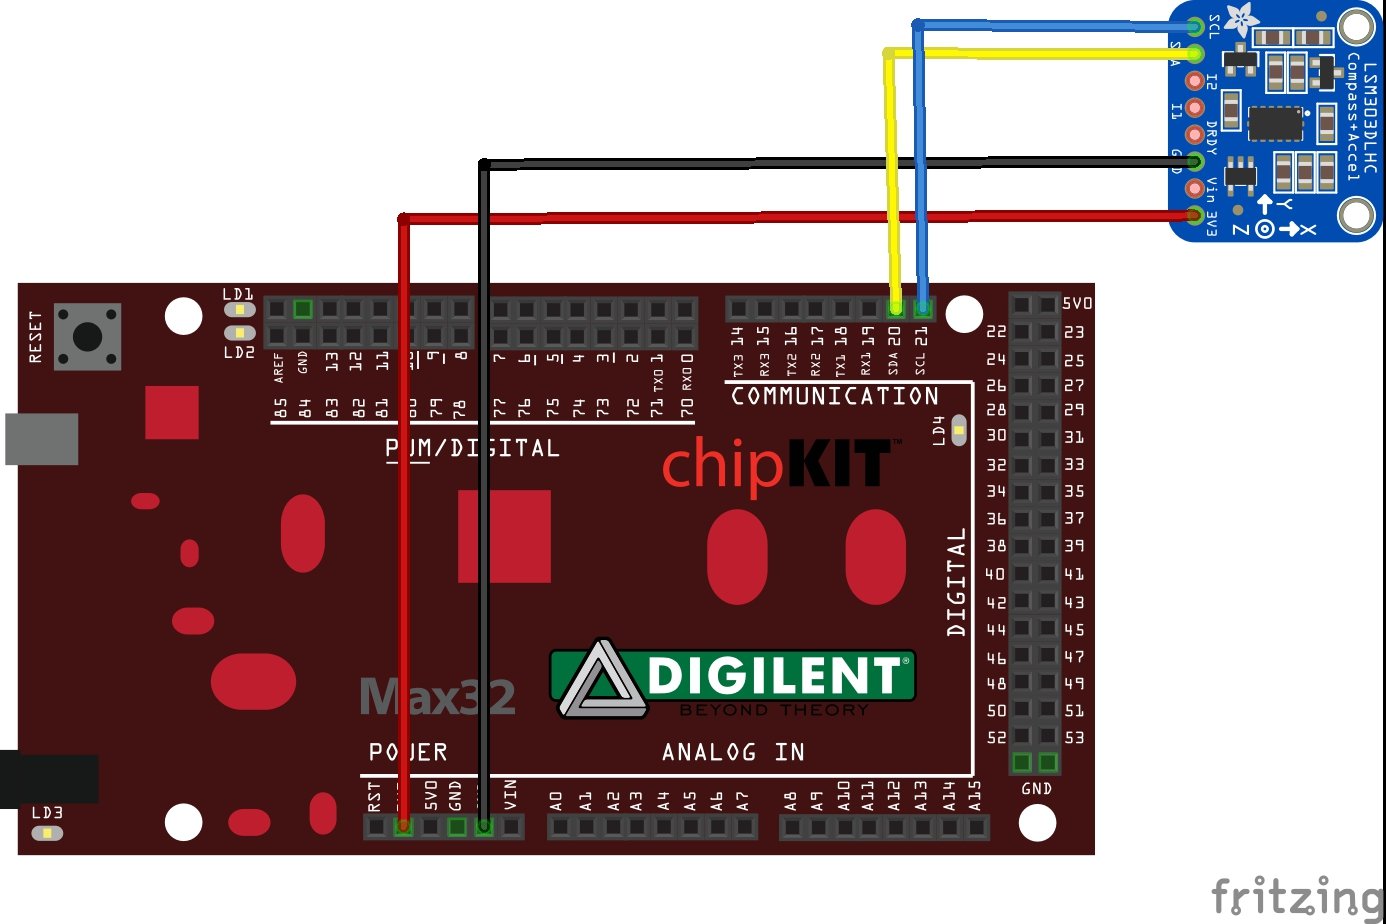
max32 and LSM303
Code
This requires the LSM303 Adafruit to be added to the Arduino IDE via the library manager
This is the default magnetometer example
[codesyntax lang=”cpp”]
#include <Wire.h>
#include <Adafruit_Sensor.h>
#include <Adafruit_LSM303_U.h>

/* Assign a unique ID to this sensor at the same time */
Adafruit_LSM303_Mag_Unified mag = Adafruit_LSM303_Mag_Unified(12345);

void displaySensorDetails(void)
{
  sensor_t sensor;
  mag.getSensor(&sensor);
  Serial.println("------------------------------------");
  Serial.print  ("Sensor:       "); Serial.println(sensor.name);
  Serial.print  ("Driver Ver:   "); Serial.println(sensor.version);
  Serial.print  ("Unique ID:    "); Serial.println(sensor.sensor_id);
  Serial.print  ("Max Value:    "); Serial.print(sensor.max_value); Serial.println(" uT");
  Serial.print  ("Min Value:    "); Serial.print(sensor.min_value); Serial.println(" uT");
  Serial.print  ("Resolution:   "); Serial.print(sensor.resolution); Serial.println(" uT");
  Serial.println("------------------------------------");
  Serial.println("");
  delay(500);
}

void setup(void)
{
#ifndef ESP8266
  while (!Serial);     // will pause Zero, Leonardo, etc until serial console opens
#endif
  Serial.begin(9600);
  Serial.println("Magnetometer Test"); Serial.println("");

  /* Enable auto-gain */
  mag.enableAutoRange(true);

  /* Initialise the sensor */
  if(!mag.begin())
  {
    /* There was a problem detecting the LSM303 ... check your connections */
    Serial.println("Ooops, no LSM303 detected ... Check your wiring!");
    while(1);
  }

  /* Display some basic information on this sensor */
  displaySensorDetails();
}

void loop(void)
{
  /* Get a new sensor event */
  sensors_event_t event;
  mag.getEvent(&event);

  /* Display the results (magnetic vector values are in micro-Tesla (uT)) */
  Serial.print("X: "); Serial.print(event.magnetic.x); Serial.print("  ");
  Serial.print("Y: "); Serial.print(event.magnetic.y); Serial.print("  ");
  Serial.print("Z: "); Serial.print(event.magnetic.z); Serial.print("  ");Serial.println("uT");

  /* Note: You can also get the raw (non unified values) for */
  /* the last data sample as follows. The .getEvent call populates */
  /* the raw values used below. */
  // Serial.print("X Raw: "); Serial.print(mag.raw.x); Serial.print("  ");
  // Serial.print("Y Raw: "); Serial.print(mag.raw.y); Serial.print("  ");
  // Serial.print("Z Raw: "); Serial.print(mag.raw.z); Serial.println("");

  /* Delay before the next sample */
  delay(500);
}
[/codesyntax]
Testing
Open the Serial Monitor window and you should see something like this
Magnetometer Test
————————————
Sensor: LSM303
Driver Ver: 1
Unique ID: 12345
Max Value: 0.00 uT
Min Value: 0.00 uT
Resolution: 0.00 uT
————————————
X: -15.73 Y: -20.00 Z: 40.31 uT
X: -15.82 Y: -20.27 Z: 40.61 uT
X: -15.91 Y: -20.36 Z: 40.82 uT
X: -15.45 Y: -20.09 Z: 40.51 uT
X: -6.91 Y: -9.64 Z: 56.33 uT
X: 6.18 Y: 28.36 Z: 69.39 uT
X: 10.55 Y: 48.55 Z: 62.35 uT
X: 34.64 Y: -15.45 Z: 45.41 uT
X: -21.55 Y: -0.09 Z: 54.29 uT
X: -16.73 Y: -12.82 Z: 48.88 uT
Links
